
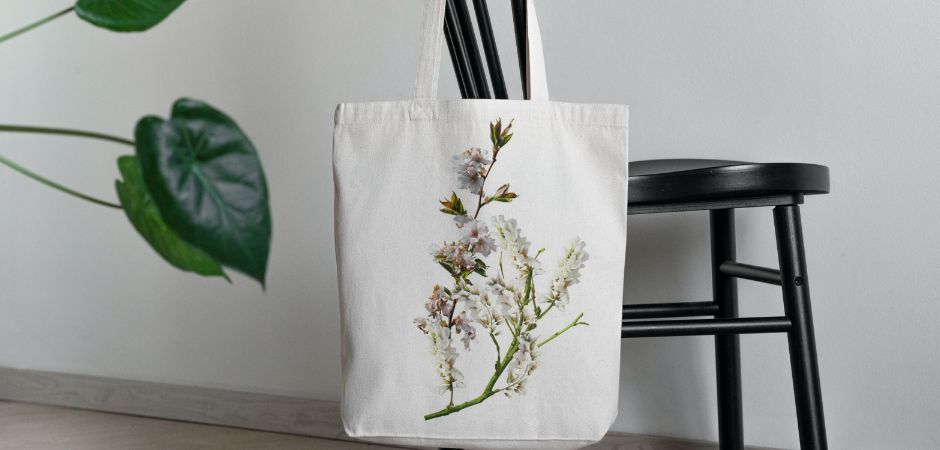
Tote bags have become more than just functional accessories – they’re also a canvas for creativity and self-expression. Whether you’re looking to personalise a tote bag with your own artwork, designs, or photographs, transferring a print onto tote bags is a fun and rewarding DIY project. In this blog article, we’ll walk you through the step-by-step process of transferring prints onto tote bags, so you can create unique and custom designs that reflect your style.
Firstly, lets look as some benefits of print transfer and then we’ll get stuck in!
Unlimited creativity: Transfer any design, pattern, or artwork onto your tote bags.
Affordability: Print transfers are cost-effective and save you money on designer tote bags.
Personalised gifts: Create personalised tote bags for friends and family, perfect for special occasions.
Now, onto the process:
Step 1: Gather your materials
The first step in transferring prints onto tote bags is selecting the design you want to transfer. This could be your own artwork, a digital design, or a photograph. Once you’ve chosen your design, make sure it’s sized appropriately for your tote bag and print it out on transfer paper using an inkjet printer.
Ensure you have all the necessary materials:
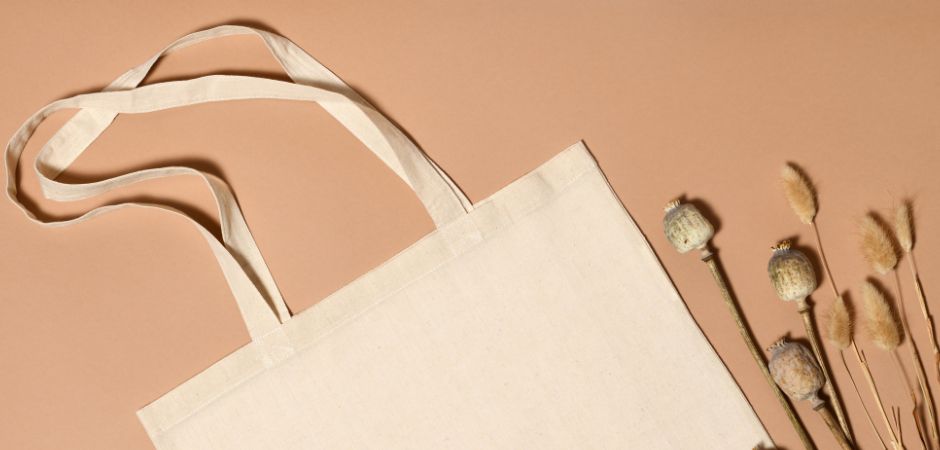
- Plain tote bag
- Design print on transfer paper
- Iron
- Ironing board
- Parchment paper
- Scissors
Step 2: Prepare your design
Trim your chosen design print from the transfer paper, leaving a small border around the edges. Make sure your tote bag is clean and flat on the ironing board.
Step 3: Prepare your tote bag
Before transferring the print onto your tote bag, it’s essential to prepare the fabric to ensure the best results. Start by placing a piece of cardboard or paper inside the tote bag to prevent the ink from bleeding through to the other side. Then, use an iron to pre-heat the tote bag, which will help the transfer paper adhere to the fabric more effectively.
Step 4: Position and iron
Place the trimmed design face down onto the tote bag. Cover it with a piece of parchment paper to protect both the design and your iron. Use a hot iron to apply even pressure to the transfer paper, moving it back and forth for about 20-30 seconds. Be sure to apply firm pressure to all areas of the design to ensure a complete transfer.
Step 4: Let it cool
After you’ve applied heat to the entire design, carefully peel off the parchment and transfer paper while it’s still warm. Start from one corner and slowly peel back the paper, being cautious not to smudge or smear the transferred design. If any parts of the design haven’t transferred fully, you can reapply heat and pressure with the iron until you achieve the desired result.
Step 5: Final touches
Once you’ve peeled off the transfer paper, allow your tote bag to cool completely before handling it. This will give the transferred design time to set and adhere to the fabric properly. To further set the design and ensure its longevity, you can place a piece of parchment paper over the transferred area and iron it again for an additional 15-20 seconds. Your custom-designed tote bag is now ready to use or gift!
In just a few easy steps, you’ve elevated a plain tote bag into a personalised accessory that reflects your unique style. Experiment with different prints, colours, and designs to create tote bags that stand out and make a statement wherever you go. Get started on your print transfer project today!